Build Tengine, MariaDB and PHP on Ubuntu 14.04
Introduction
Nginx is one of the most popular web servers in the world and is responsible for hosting some of the largest and highest-traffic sites on the internet. Tengine is a branch of Nginx which is created by Alibaba Inc.
MariaDB is a database server developed by some of the original authors of MySQL and offers drop-in replacement functionality.
Note: This guide is from 2014 and builds every component from source on Ubuntu 14.04, which has long since reached end-of-life. On a current system you would install Tengine/Nginx, MariaDB, and PHP from the official APT repositories and manage them with
systemdinstead of the SysVinit.dscripts shown below. It’s kept here as a historical walkthrough.
Prerequisites
Before you begin this guide, you should have a regular, non-root user with sudo privileges configured on your server.
We will build all components from the source code. Of course, it’s OK for you to install them using the apt-get command. All steps have been tested on Ubuntu 14.04.
Install Tengine
Install Required Packages
apt-get install libpcre++-dev libssl-dev zlib1g-dev
Download and Compile the Source Code
wget http://tengine.taobao.org/download/tengine-2.1.2.tar.gz
tar -zxvf tengine-2.1.2.tar.gz
mkdir /usr/local/nginx
mkdir /var/tmp/nginx
cd tengine-2.1.2
./configure --prefix=/usr/local/nginx \
    --conf-path=/etc/nginx/nginx.conf \
    --pid-path=/var/run/nginx.pid \
    --lock-path=/var/lock/nginx.lock \
    --user=nginx \
    --group=nginx \
    --http-client-body-temp-path=/var/tmp/nginx/client \
    --http-proxy-temp-path=/var/tmp/nginx/proxy \
    --http-fastcgi-temp-path=/var/tmp/nginx/fastcgi \
    --http-scgi-temp-path=/var/tmp/nginx/scgi \
    --http-uwsgi-temp-path=/var/tmp/nginx/uwsgi \
    --with-ipv6 \
    --with-http_v2_module \
    --with-http_ssl_module
make -j$(nproc)
make install
Set File Permissions
We will create some temporary files in the folder /var/tmp, so we must create it before starting Tengine. Besides, for security, we need to create an account for the Tengine webserver.
useradd -s /sbin/nologin nginx
cd /usr/local/nginx
chown nginx:nginx -R /usr/local/nginx/html
chown nginx:nginx -R /usr/local/nginx/logs
chown nginx:nginx -R /var/tmp/nginx
chmod 700 -R /usr/local/nginx/html
chmod 700 -R /var/tmp/nginx
chmod 777 -R /usr/local/nginx/logs
Start Tengine Manually
Now, we have installed Tengine on your Ubuntu. I suggest you create a symbolic link for Nginx.
ln -s /usr/local/nginx/sbin/nginx /usr/bin/nginx
And you can start Tengine using the following command
nginx
Open your web browser and access the http://localhost. You will get a welcome page.
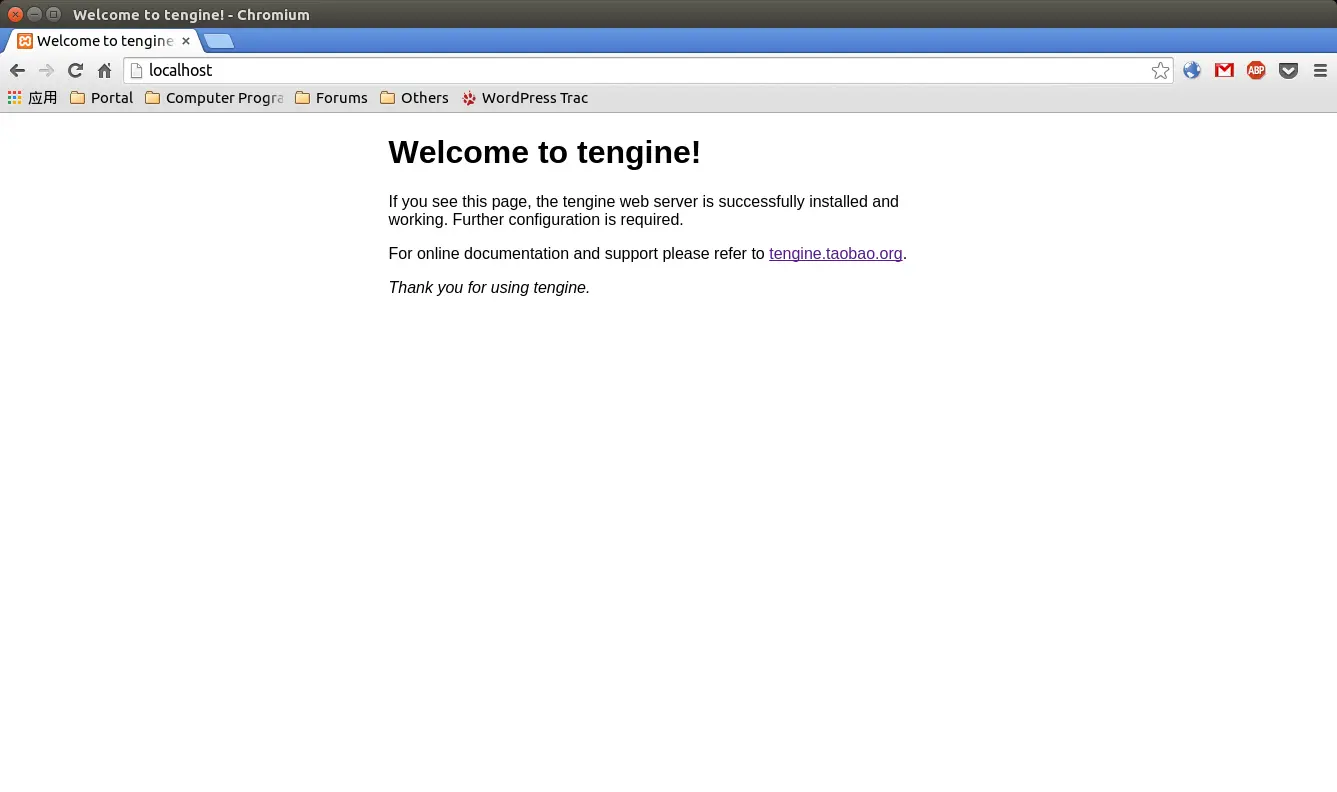
You can stop Tengine by
nginx -s stop
You can restart Tengine using
nginx -s reload
Register Tengine as a Service
Maybe, it’s quite inconvenient to use the command mentioned above. So you can use the service command provided by Ubuntu.
Before you use the command, you need to do as follows:
wget https://raw.github.com/JasonGiedymin/nginx-init-ubuntu/master/nginx -O /etc/init.d/nginx
chmod 755 /etc/init.d/nginx
Since we located the configuration file of Tengine in /etc/nginx and the runtime files in /var, we need to edit the script we just downloaded.
vim /etc/init.d/nginx
Update the path variables near the top of the script to match where we put the configuration and runtime files:
- Set
PIDSPATH=/var/run - Set
lockfile=/var/lock/nginx.lock - Set
NGINX_CONF_FILE="/etc/nginx/nginx.conf"
Now, you can start/stop Tengine using
service nginx start/stop
Install MariaDB
Install Required Packages
apt-get install cmake g++ openssl libssl-dev libncurses5-dev libboost-dev bison
Download and Compile the Source Code
wget http://mirrors.hustunique.com/mariadb/mariadb-10.0.14/source/mariadb-10.0.14.tar.gz
tar -zxvf mariadb-10.0.14.tar.gz
cd mariadb-10.0.14/
cmake . -DCMAKE_INSTALL_PREFIX=/usr/local/mysql -DWITH_FEDERATED_STORAGE_ENGINE=1 -DWITH_SSL=system
make -j$(nproc)
make install
Set File Permissions
useradd -s /sbin/nologin mysql
chown mysql:mysql /usr/local/mysql/data -R
Register MariaDB as a Service
cd /usr/local/mysql
cp support-files/my-large.cnf /etc/my.cnf
cp support-files/mysql.server /etc/init.d/mysql
chmod 755 /etc/init.d/mysql
ln -s /usr/local/mysql/bin/mysql /usr/bin/mysql
Initial Setup MariaDB
/usr/local/mysql/scripts/mysql_install_db --user=mysql
You can start MariaDB using the following command:
service mysql start
You will get the following output:
Starting MySQL
. *
You can log in to MariaDB using the following command:
mysql
You will get the following output:
Welcome to the MariaDB monitor. Commands end with ; or \g.
Your MariaDB connection id is 4
Server version: 10.0.14-MariaDB-log Source distribution

Copyright (c) 2000, 2014, Oracle, SkySQL Ab and others.

Type 'help;' or '\h' for help. Type '\c' to clear the current input statement.

MariaDB [(none)] > exit
Bye
Install PHP
Install Required Packages
apt-get install libgmp-dev libreadline6-dev libxslt1.1 libxslt1-dev \
    libbz2-dev libcurl4-openssl-dev libjpeg-dev libpng12-dev libfreetype6-dev libmcrypt-dev
Download and Compile the Source Code
wget http://php.net/distributions/php-5.6.3.tar.gz
tar -zxvf php-5.6.3.tar.gz
cd php-5.6.3
./configure \
    --prefix=/usr/local/php \
    --with-mysql=/usr/local/mysql \
    --with-mysql-sock \
    --with-mysqli=/usr/local/mysql/bin/mysql_config \
    --with-fpm-user=nginx \
    --with-fpm-group=nginx \
    --with-libdir=lib64 \
    --enable-fpm \
    --enable-soap \
    --with-libxml-dir \
    --with-openssl \
    --with-mcrypt \
    --with-mhash \
    --with-pcre-regex \
    --with-sqlite3 \
    --with-zlib \
    --enable-bcmath \
    --with-iconv \
    --with-bz2 \
    --enable-calendar \
    --with-curl \
    --with-cdb \
    --enable-dom \
    --enable-exif \
    --enable-fileinfo \
    --enable-filter \
    --with-pcre-dir \
    --enable-ftp \
    --with-gd \
    --with-openssl-dir \
    --with-jpeg-dir \
    --with-png-dir \
    --with-zlib-dir \
    --with-freetype-dir \
    --enable-gd-native-ttf \
    --enable-gd-jis-conv \
    --with-gettext \
    --with-gmp \
    --with-mhash \
    --enable-json \
    --enable-mbstring \
    --disable-mbregex \
    --disable-mbregex-backtrack \
    --with-libmbfl \
    --with-onig \
    --enable-pdo \
    --with-pdo-mysql \
    --with-zlib-dir \
    --with-pdo-sqlite \
    --with-readline \
    --enable-session \
    --enable-shmop \
    --enable-simplexml \
    --enable-sockets \
    --enable-sysvmsg \
    --enable-sysvsem \
    --enable-sysvshm \
    --enable-wddx \
    --with-libxml-dir \
    --with-xsl \
    --enable-zip \
    --enable-mysqlnd-compression-support \
    --with-pear
make -j$(nproc)
make install
Errors and Solutions
While using configure, you may come across the following issues:
Issue #1: configure: error: Unable to locate gmp.h
Solution: ln -s /usr/include/x86_64-linux-gnu/gmp.h /usr/include/gmp.h
Issue #2: configure: error: Cannot find libmysqlclient under /usr/local/mysql
Solution: ln -s /usr/local/mysql/lib /usr/local/mysql/lib64
Register PHP-FPM as a Service
For convenience, we create symbolic links for PHP.
ln -s /usr/local/php/bin/php /usr/bin/php
ln -s /usr/local/php/bin/phpize /usr/bin/phpize
ln -s /usr/local/php/sbin/php-fpm /usr/bin/php-fpm
Now, we will create the script for PHP-FPM in order to start PHP-FPM using service command.
touch /etc/init.d/php-fpm
chmod 755 /etc/init.d/php-fpm
Paste following script to /etc/init.d/php-fpm
#! /bin/sh
### BEGIN INIT INFO
# Provides:          php-fpm
# Required-Start:    $remote_fs $network
# Required-Stop:     $remote_fs $network
# Default-Start:     2 3 4 5
# Default-Stop:      0 1 6
# Short-Description: starts php-fpm
# Description:       starts the PHP FastCGI Process Manager daemon
### END INIT INFO

prefix=/usr/local/php
exec_prefix=${prefix}

php_fpm_BIN=${exec_prefix}/sbin/php-fpm
php_fpm_CONF=${prefix}/etc/php-fpm.conf
php_fpm_PID=${prefix}/var/run/php-fpm.pid

php_opts="--fpm-config $php_fpm_CONF"

wait_for_pid () {
    try=0
    while test $try -lt 35 ; do
        case "$1" in
            'created')
            if [ -f "$2" ] ; then
                try=''
                break
            fi
            ;;
            'removed')
            if [ ! -f "$2" ] ; then
                try=''
                break
            fi
            ;;
        esac
        echo -n .
        try=`expr $try + 1`
        sleep 1
    done
}

case "$1" in
    start)
        echo -n "Starting php-fpm "
        $php_fpm_BIN $php_opts
        if [ "$?" != 0 ] ; then
            echo " failed"
            exit 1
        fi
        wait_for_pid created $php_fpm_PID
        if [ -n "$try" ] ; then
            echo " failed"
            exit 1
        else
            echo " done"
        fi
    ;;
    stop)
        echo -n "Gracefully shutting down php-fpm "
        if [ ! -r $php_fpm_PID ] ; then
            echo "warning, no pid file found - php-fpm is not running ?"
            exit 1
        fi
        kill `cat $php_fpm_PID`
        wait_for_pid removed $php_fpm_PID
        if [ -n "$try" ] ; then
            echo " failed. Use force-quit"
            exit 1
        else
            echo " done"
        fi
    ;;
    force-quit)
        echo -n "Terminating php-fpm "

        if [ ! -r $php_fpm_PID ] ; then
            echo "warning, no pid file found - php-fpm is not running ?"
            exit 1
        fi
        kill -TERM `cat $php_fpm_PID`
        wait_for_pid removed $php_fpm_PID
        if [ -n "$try" ] ; then
            echo " failed"
            exit 1
        else
            echo " done"
        fi
    ;;
    restart)
        $0 stop
        $0 start
    ;;
    reload)
        echo -n "Reload service php-fpm "
        if [ ! -r $php_fpm_PID ] ; then
            echo "warning, no pid file found - php-fpm is not running ?"
            exit 1
        fi
        kill -USR2 `cat $php_fpm_PID`
        echo " done"
    ;;
    *)
        echo "Usage: $0 {start|stop|force-quit|restart|reload}"
        exit 1
    ;;
esac
Now, you can start the PHP-FPM service using:
service php-fpm start
Make PHP Work with Tengine
This is the important step to make PHP work in Tengine. First of all, we need to edit the configuration file of Tengine.
vim /etc/nginx/nginx.conf
Set the
userdirective tonginx.Add
index.phpto theindexdirective (index index.html index.htm index.php).Uncomment the
location ~ \.php$block and pointfastcgi_param SCRIPT_FILENAMEat the HTML folder. You will get content as follows:
location ~ \.php$ {
    root html;
    fastcgi_pass 127.0.0.1:9000;
    fastcgi_index index.php;
    fastcgi_param SCRIPT_FILENAME
    /usr/local/nginx/html$fastcgi_script_name;
    include fastcgi_params;
}
OK, Let’s turn to PHP configuration file: /usr/local/php/etc/php-fpm.conf. You need to create a default configuration using the following command:
cp php-fpm.conf.default php-fpm.conf
vim php-fpm.conf
Set
pid = run/php-fpm.pid.Set
user = nginx.Set
group = nginx.
To test that you have configured PHP and Tengine successfully, you can create a PHP file in the HTML folder.
touch /usr/local/nginx/html/index.php
echo "<?php phpinfo();" >> index.php
service nginx restart
service php-fpm restart
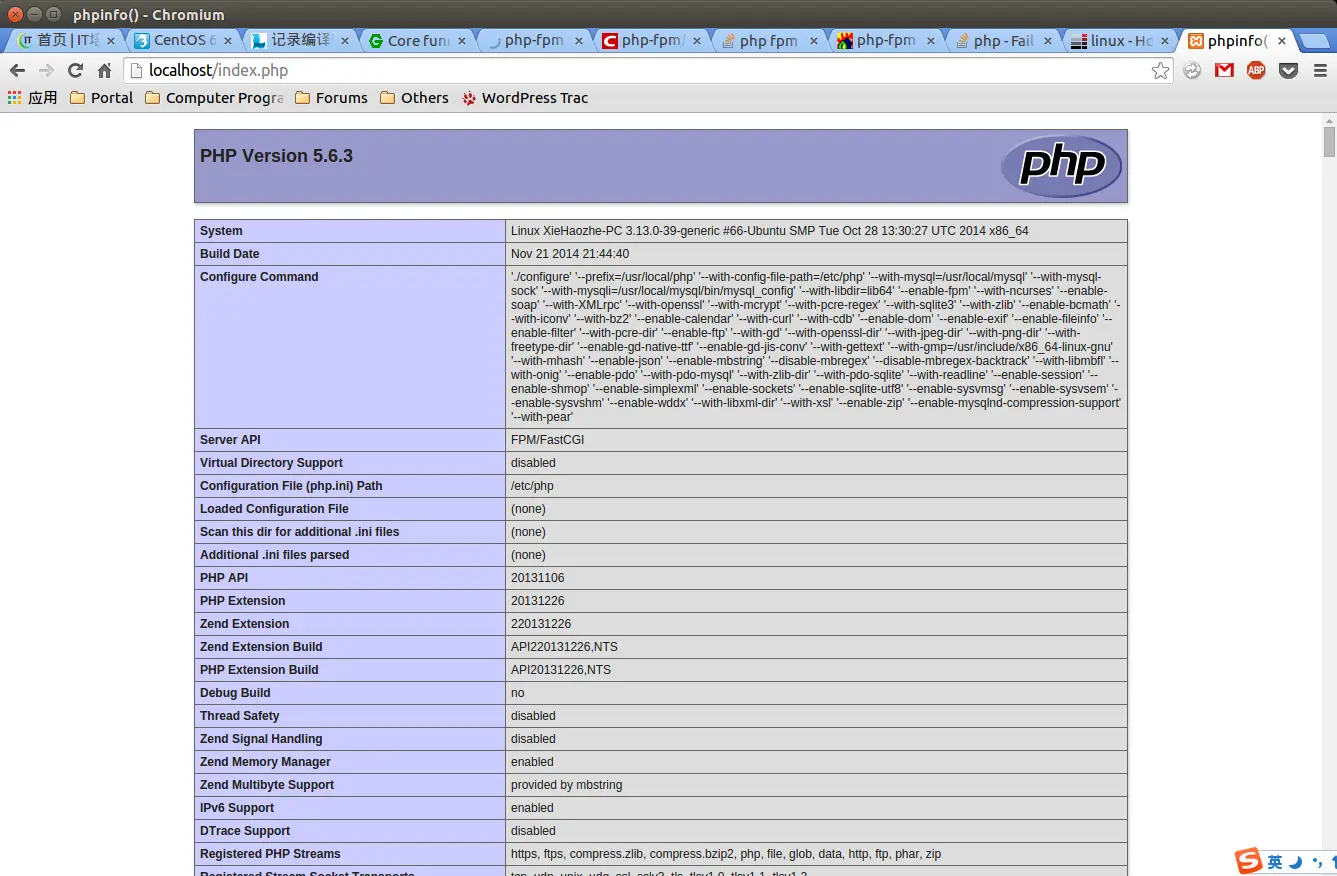
Now, open your browser, you will get the PHP information page.
Install phpMyAdmin
To test MariaDB and PHP, we will install phpMyAdmin. If you are sure that your MariaDB and PHP work normally, you can skip this section.
wget http://iweb.dl.sourceforge.net/project/phpmyadmin/phpMyAdmin/4.2.12/phpMyAdmin-4.2.12-all-languages.7z
p7zip -d phpMyAdmin-4.2.12-all-languages.7z
mv phpMyAdmin-4.2.12-all-languages /usr/local/nginx/html/phpmyadmin
chown nginx:nginx /usr/local/nginx/html/phpmyadmin -R
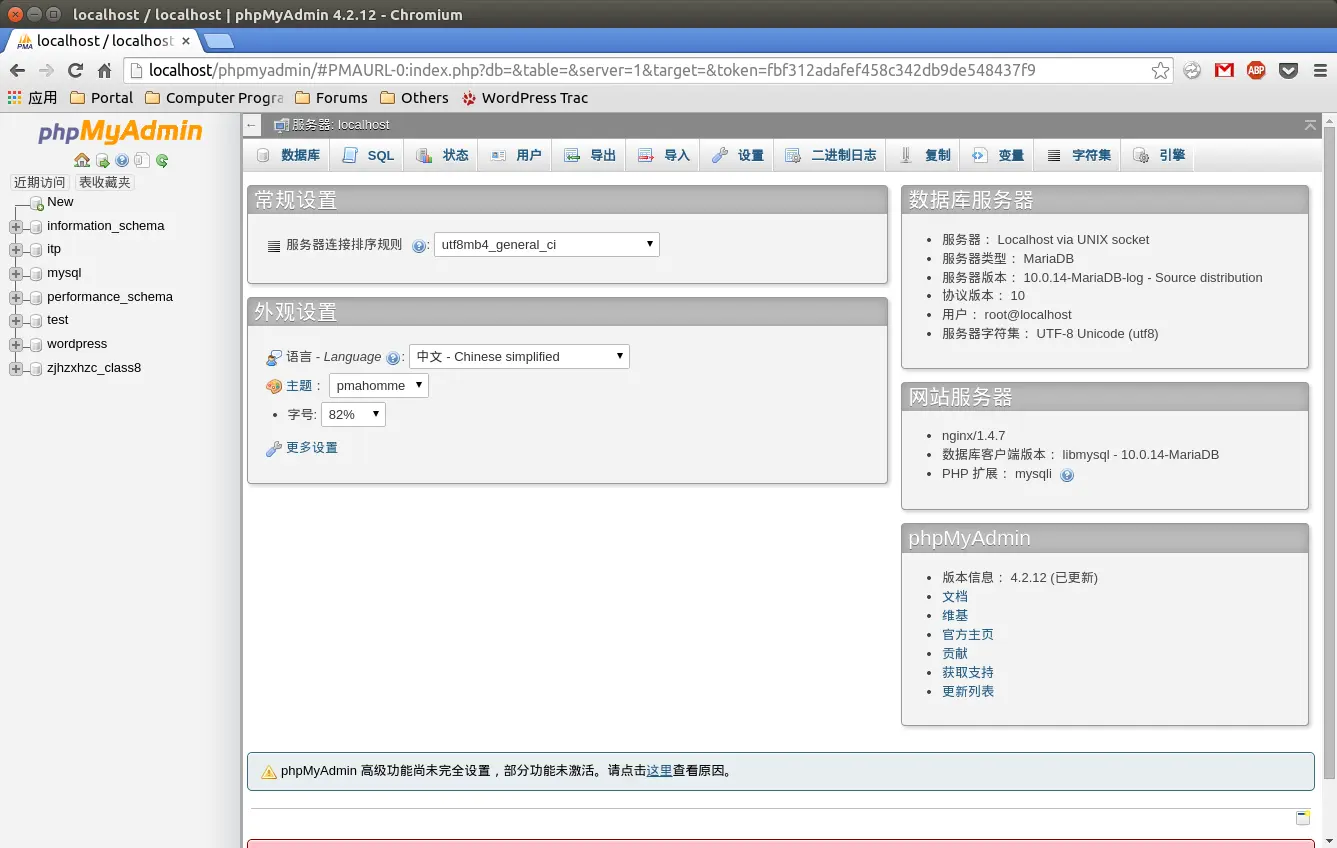
Now, open your browser, access http://localhost/phpmyadmin. You will get into the PHPMyAdmin page.
Rewrite in Nginx (Tengine)
After migrating to Nginx, you will find that URL rewriting does not work. In Apache httpd, the URL rewrite depends on the .htaccess file. In Nginx, you need to add URL rewrite rules in nginx.conf.
For WordPress, you can add the following lines to nginx.conf:
server {
    listen       80;
    server_name  infinitescript.com;

    location / {
        root   html/wordpress;
        index  index.html index.htm index.php;
        if (!-e $request_filename) {
            rewrite ^([_0-9a-zA-Z-]+)?(/wp-.*) $2 last;
            rewrite ^([_0-9a-zA-Z-]+)?(/.*\.php)$ $2 last;
            rewrite ^ /index.php last;
        }
    }

    location ~ \.php$ {
        fastcgi_pass   127.0.0.1:9000;
        fastcgi_index  index.php;
        fastcgi_param  SCRIPT_FILENAME  /usr/local/nginx/html/wordpress$fastcgi_script_name;
        include        fastcgi_params;
    }
}
As this guide was an introduction to Tengine, PHP-FPM, and MariaDB, there’s a lot more to write about it. For example, the multi-user or multi-site environment. But also running this efficiently on a LowEndBox. Possibly even making the installation easier and configuring SSL. That’s for the future, though 😉
The Disqus comment system is loading ...
If the message does not appear, please check your Disqus configuration.